


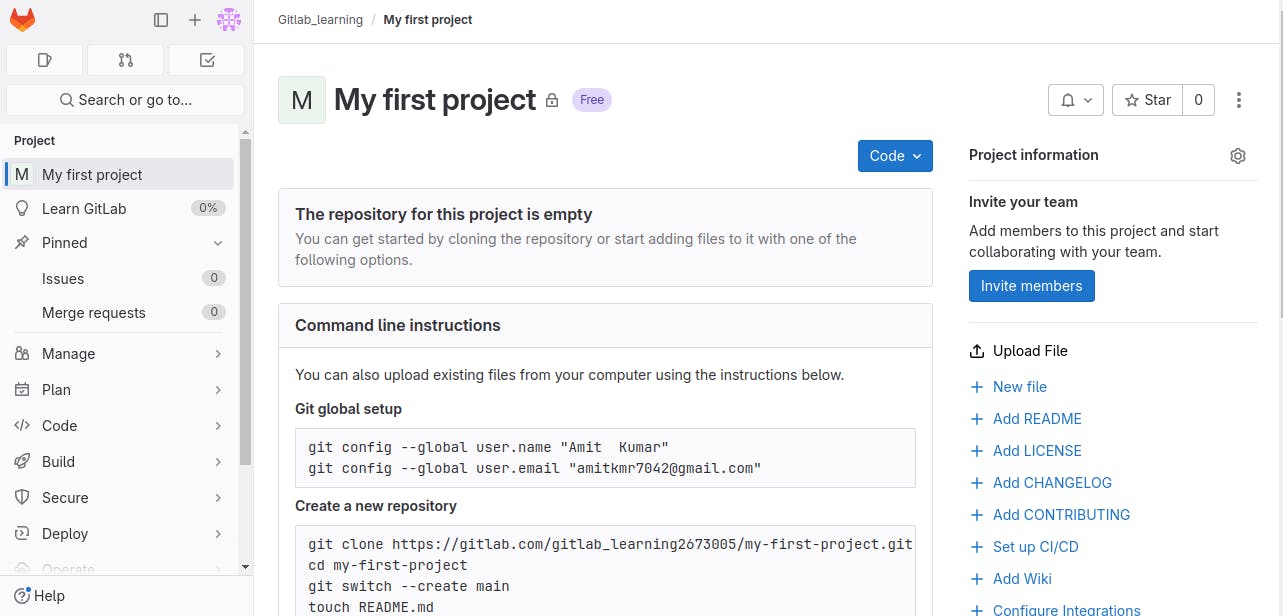
Creating a project on GitLab, marking the beginning of my journey into version control and collaborative development. This project serves as a learning ground where I can experiment with code, track changes, collaborate with others, and explore the various features offered by GitLab.
Key Points:
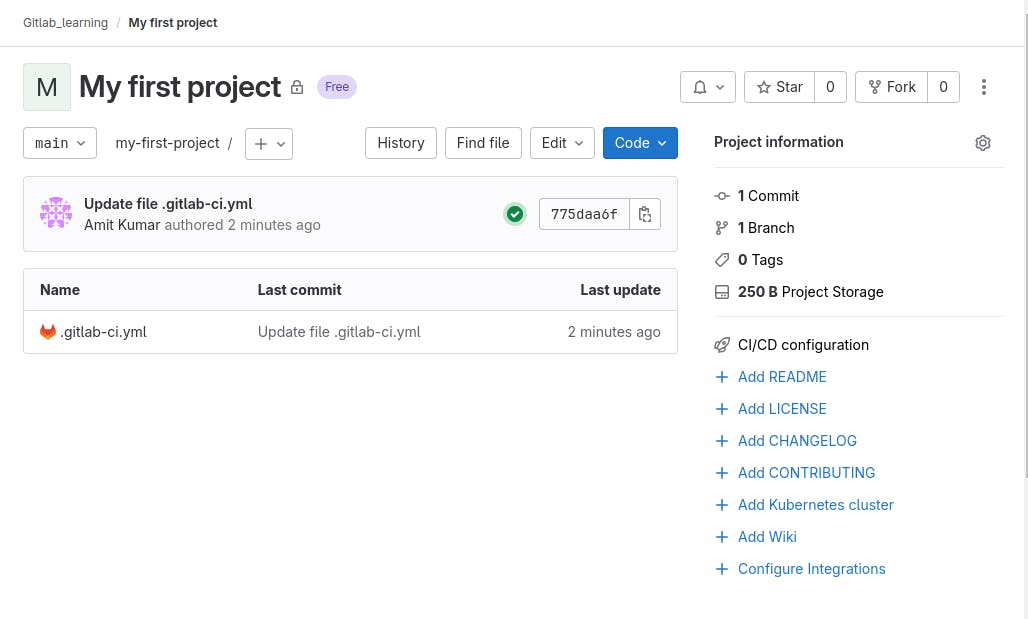
Project Name: "My First Project"
Repository: Created on GitLab.
Purpose: To learn version control, collaboration, and project management.
Learning Goals: Understand Gitlab fundamentals.
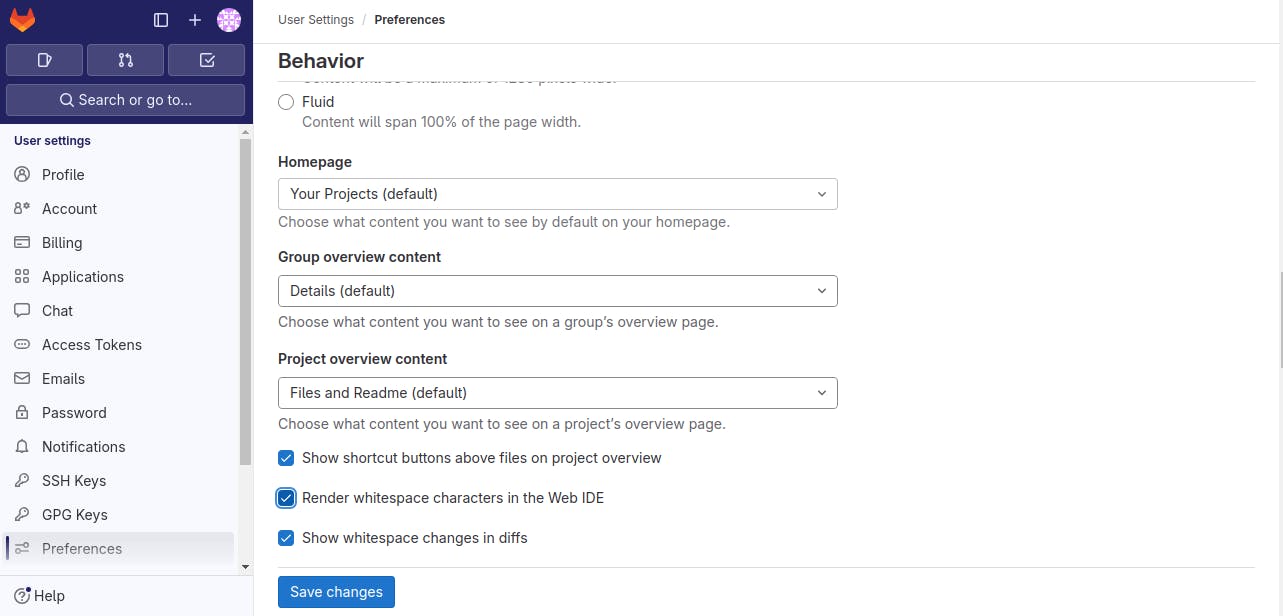
Let's navigate to preferences and adjust settings such as color and syntax themes.
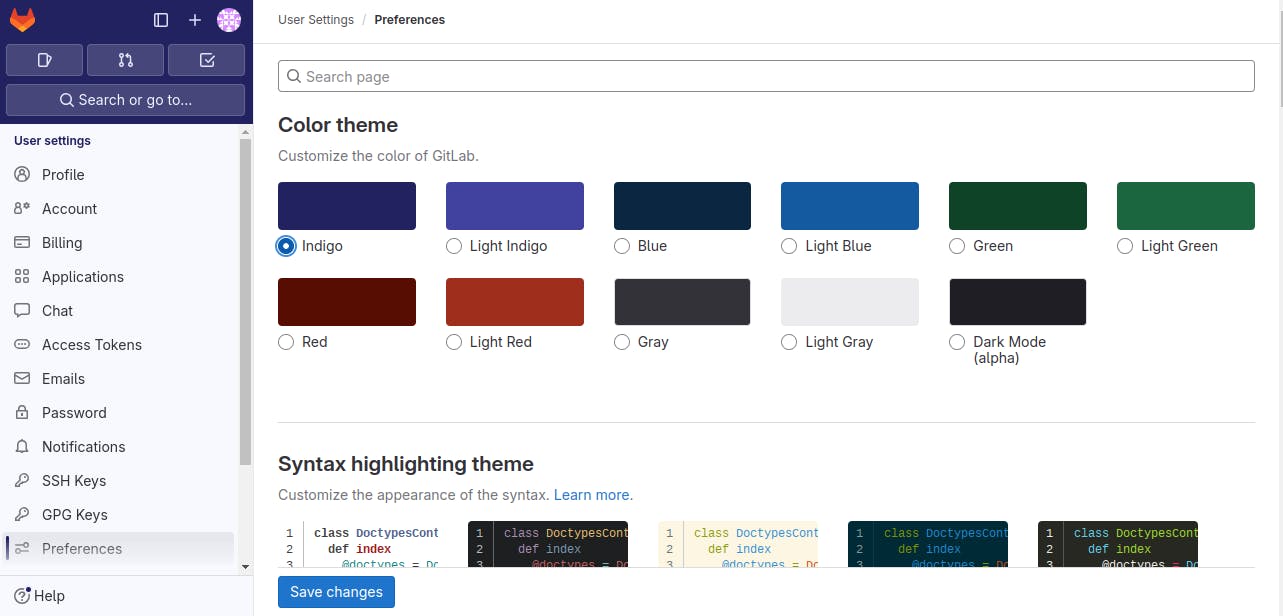
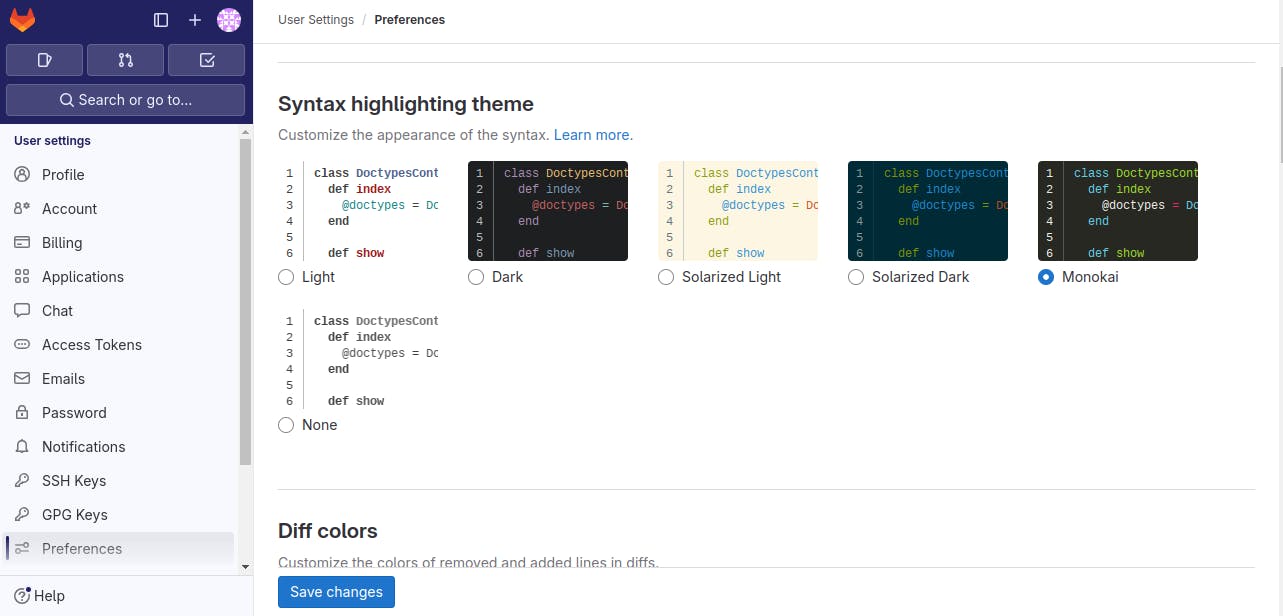
And "save changes"
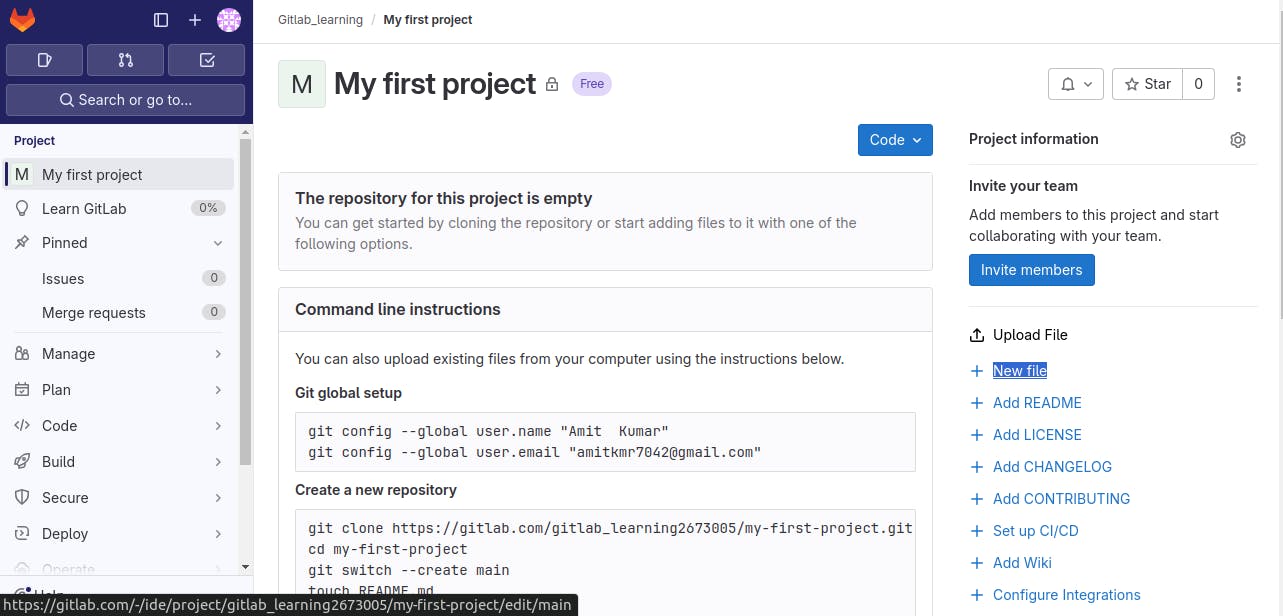
Go to the project repository and select "New file"
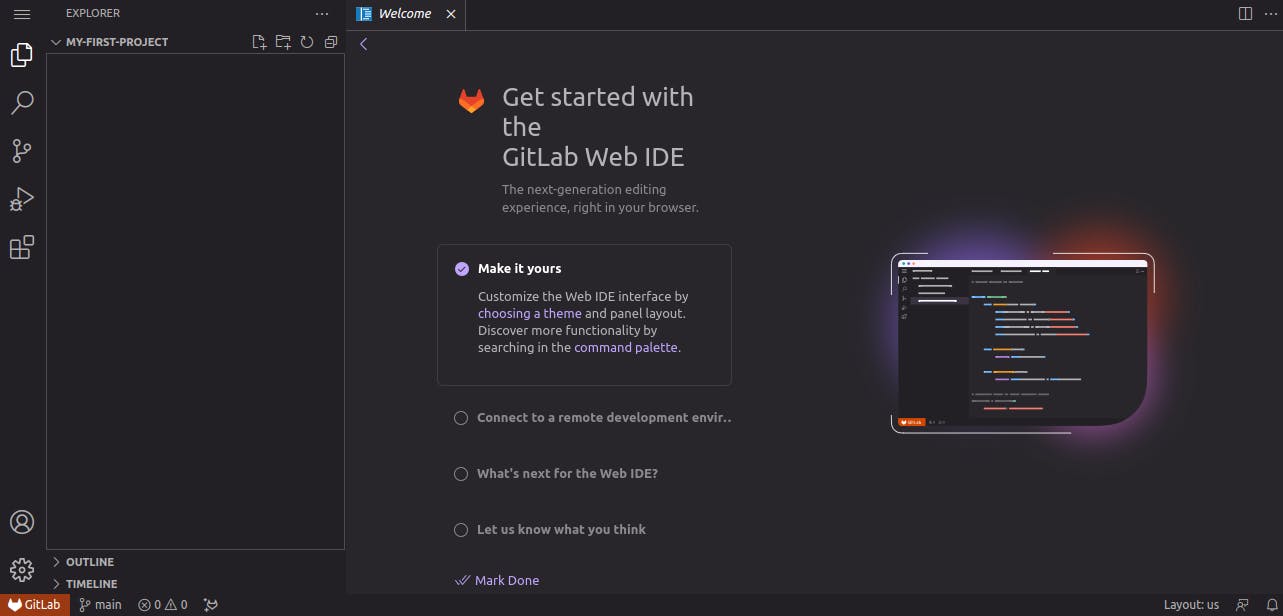
An integrated Gitlab Web IDE will open
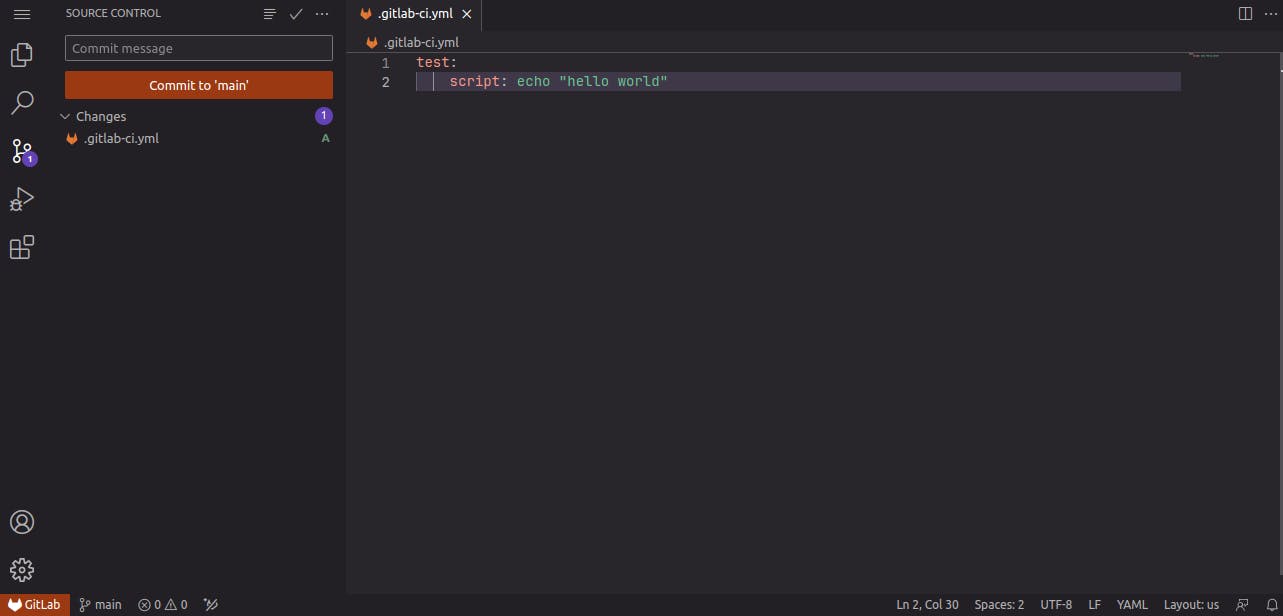
In GitLab, the .gitlab-ci.yml file is necessary for defining the CI/CD pipeline configuration. This file specifies the stages, jobs, and scripts that GitLab CI/CD uses to automate the build, test, and deployment processes for your project.
When you push code to a GitLab repository, GitLab scans for the presence of the .gitlab-ci.yml file in the repository's root directory. If the file exists, GitLab uses the configuration defined in it to create and execute the pipeline stages and jobs accordingly.
Without a .gitlab-ci.yml file, GitLab won't have instructions on how to build, test, or deploy your project automatically. Therefore, creating and maintaining this file is essential for setting up and customizing your CI/CD pipelines in GitLab.

Let's create a simple "Hello, World!" test script to verify the functionality of our pipeline.
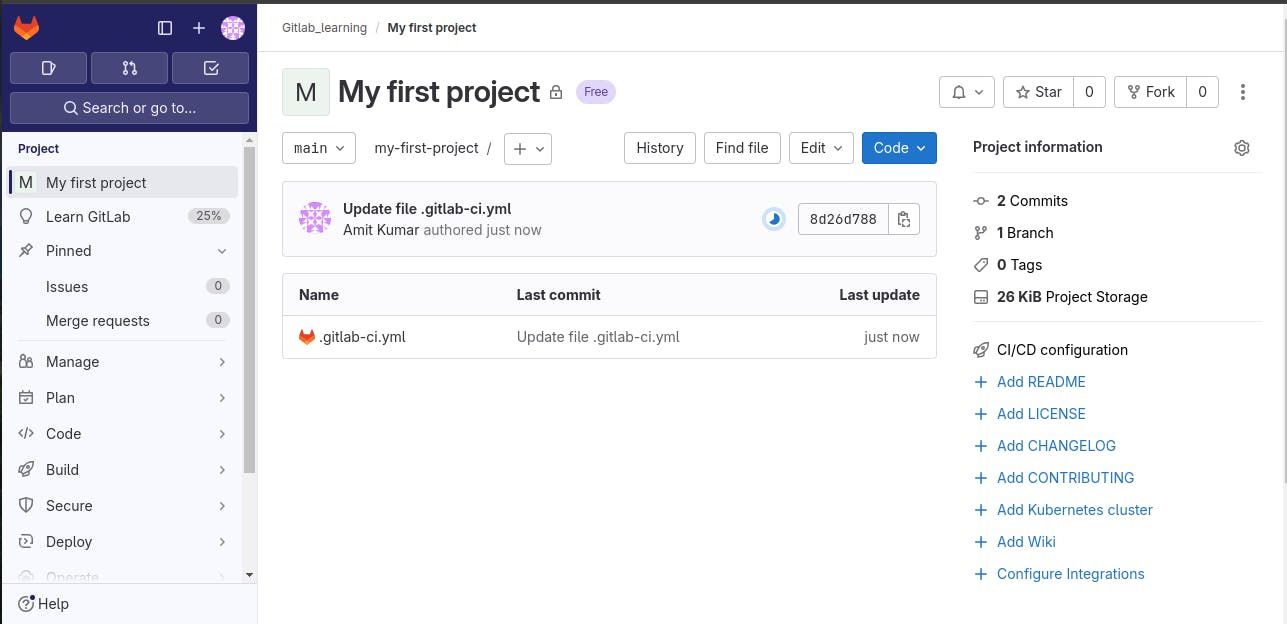
Let's commit the changes to our repository to trigger the pipeline and ensure that everything is working as expected.
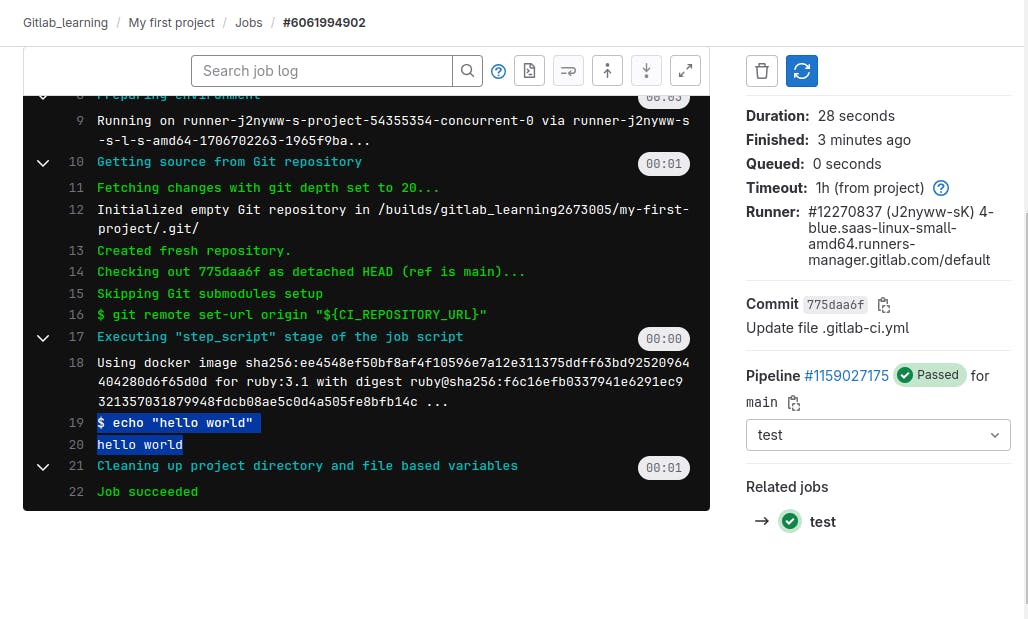
The job is successfully executed and passed. let's go inside the job and see if it worked.
As we can see we have our "test" job successfully executed.

If we go inside the "test" job we can see it has executed the script "hello world" successfully
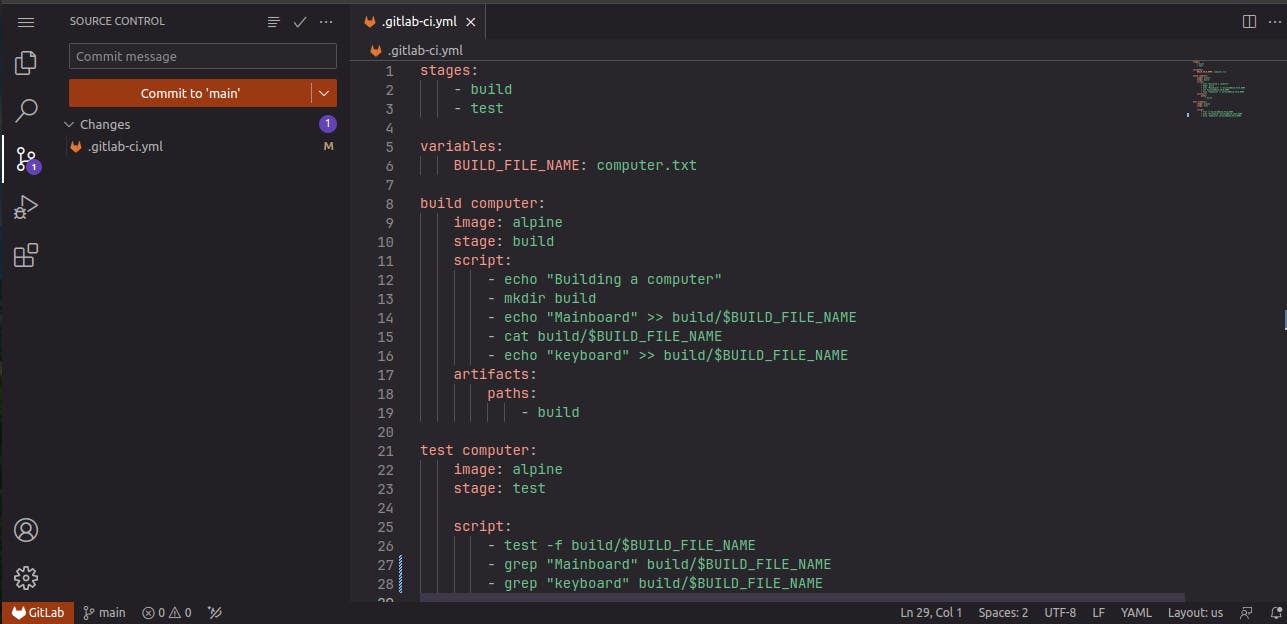
In our journey to set up a robust CI/CD pipeline, we've initiated a simple "Hello, World!" script to test its functionality. Now, our next pipeline is organized into two stages: "build" and "test".
Build Stage:
We've defined a job named "build_computer" within the "build" stage.
This job, executed in an Alpine Linux environment, constructs a virtual computer.
It creates a directory named "build", appends "Mainboard" and "keyboard" components to a file named "computer.txt", and displays its contents.
Test Stage:
In the "test_computer" job, which operates in the same Alpine environment, we examine the integrity of our virtual computer.
We verify the existence of the "computer.txt" file, and check if "Mainboard" and "keyboard" components are correctly listed within it.
By committing these changes to our repository, we trigger the pipeline, ensuring that each stage executes seamlessly. This initial test serves as our foundation to build upon, enabling us to integrate more complex functionalities into our CI/CD workflow.

Here's the breakdown for the script:
Stages Definition:
stages: Specifies the stages in the CI/CD pipeline. Stages represent different phases of the pipeline, like building, testing, deploying, etc.
Variables:
BUILD_FILE_NAME: Defines a variable namedBUILD_FILE_NAMEwith the value "computer.txt". Variables can be referenced later in the script.
Build Stage:
build_computer: Defines a job namedbuild_computerwithin thebuildstage.image: Specifies the Docker image to be used for the job.stage: Indicates the stage in which the job should execute (build).script: Contains the commands to be executed as part of the job.echo "Building a computer": Prints a message indicating the start of the build process.mkdir build: Creates a directory named "build" if it doesn't exist.echo "Mainboard" >> build/$BUILD_FILE_NAME: Appends "Mainboard" to the file specified by$BUILD_FILE_NAMEin thebuilddirectory.cat build/$BUILD_FILE_NAME: Prints the contents of the file specified by$BUILD_FILE_NAMEin thebuilddirectory.echo "keyboard" >> build/$BUILD_FILE_NAME: Appends "keyboard" to the same file.
artifacts: Specifies files or directories that should be persisted as artifacts after the job completes.paths: Specifies the paths of the artifacts to be saved (builddirectory)
Test Stage:
test_computer: Defines a job namedtest_computerwithin theteststage.image: Specifies the Docker image to be used for the job (same as the build stage).stage: Indicates the stage in which the job should execute (test).script: Contains the commands to be executed as part of the job.test -f build/$BUILD_FILE_NAME: Checks if the file specified by$BUILD_FILE_NAMEexists in thebuilddirectory.grep "Mainboard" build/$BUILD_FILE_NAME: Searches for the string "Mainboard" in the file specified by$BUILD_FILE_NAME.grep "keyboard" build/$BUILD_FILE_NAME: Searches for the string "keyboard" in the same file.
Each job within a stage runs sequentially. The build stage creates a file named "computer.txt" in the build directory with "Mainboard" and "keyboard" contents. The test stage checks if the file exists and searches for "Mainboard" and "keyboard" strings within the file. If any command within a job fails (returns a non-zero exit status), the entire job fails, leading to a failed pipeline.
Lets commit the changes and trigger the pipeline
As we can see the pipeline is being triggered. Click on the job
As we can see our pipeline with two stages are successfully executed, well there were some failed attempts before as there were some syntax errors in the scripts after correcting those we finally got our pipeline to work
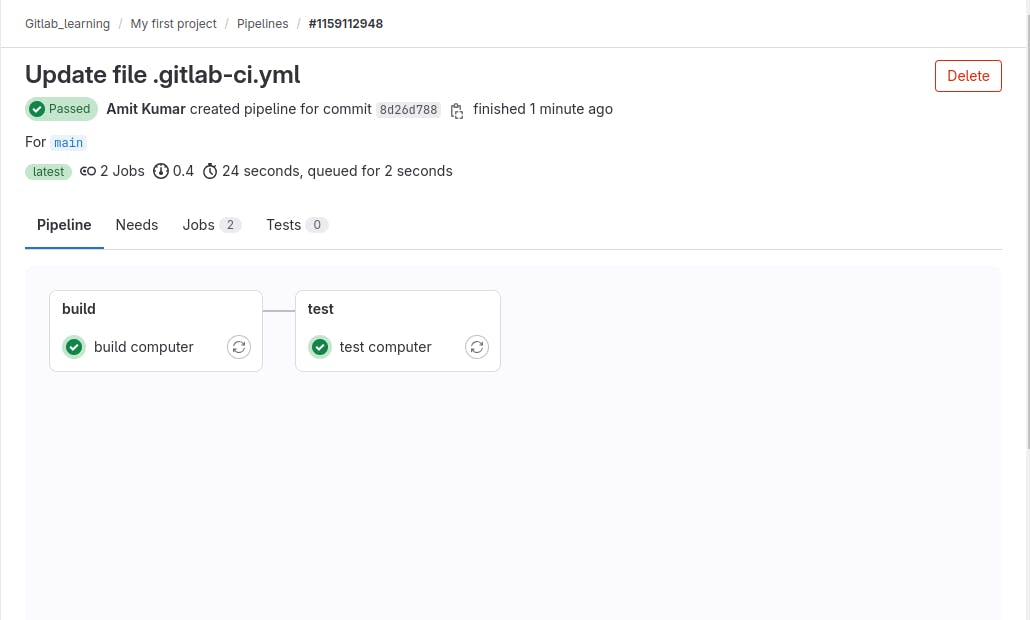
If we click on the "build computer" stage we can see our job is successfully executed and also created artifacts to store the files in the build stage which can be used by the 2nd stage job.
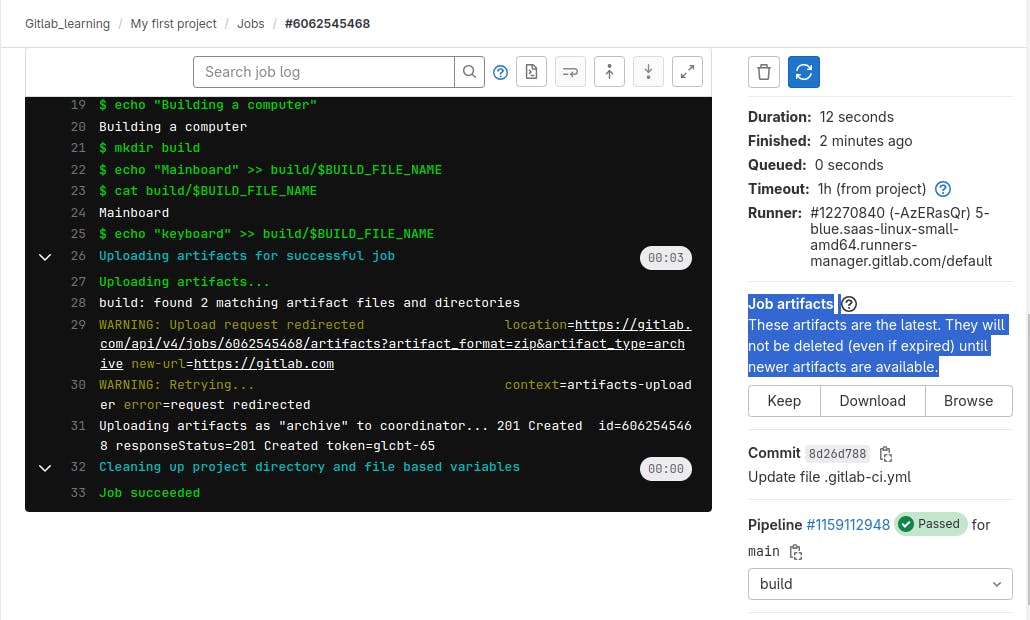
Creating artifacts in a GitLab pipeline is important because it allows you to preserve and share the outputs generated during the pipeline execution.
When a job or pipeline successfully executes in GitLab, the resources it utilizes, such as the Docker image or files, are automatically cleared by the GitLab Runner. This cleanup process helps maintain system cleanliness and prevents unnecessary resource consumption.
Artifacts :
artifacts: This keyword specifies the artifacts generated by the job.-
paths: This sub-key specifies the paths to the files or directories that should be considered artifacts.- build: This line specifies the directory named "build" as an artifact. The hyphen-indicates that "build" is a path relative to the project directory. All files and subdirectories within the "build" directory will be archived and made available as artifacts.
When a job is completed successfully, GitLab will automatically archive the specified artifacts. These artifacts can then be accessed and downloaded from the GitLab UI, allowing you to examine the results of your pipeline, debug any issues, or deploy your application if necessary.
Using artifacts is crucial for maintaining traceability, sharing results across jobs, and ensuring reproducibility in your CI/CD process
If we select the artifacts we can browse or download the files. As we can see here we have our computer.txt file

Now, let's check the 2nd "test computer" stage
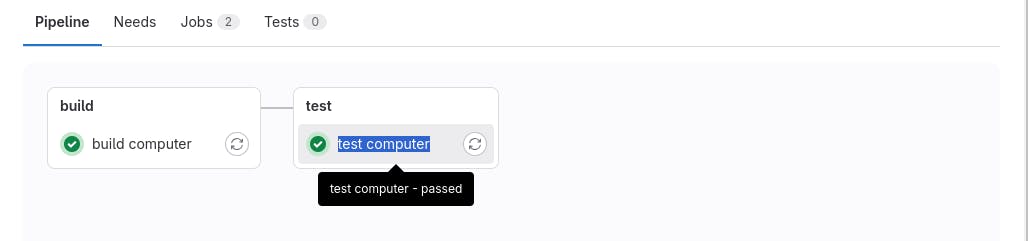
Our 2nd stage also successfully executed and successfully ran the "grep" command to run the search for "Mainboard" and "keyboard" which was created in the 1st job and then stored in artifacts.

Through simple "Hello, World!" scripts and thoughtful pipeline configurations, we're laying the foundation for streamlined software development. Stay tuned as we continue to enhance our pipeline and delve into more advanced automation techniques. Your interest and support mean the world to us. Thank you for reading!